Dehydrator vs. Oven: The Ultimate Guide to Drying Ginger for Homemade Powder
Homemade ginger powder offers an unparalleled aromatic burst and a depth of flavor that often surpasses its store-bought counterparts. Whether you’re a culinary enthusiast, a health-conscious individual, or someone keen on minimizing food waste, mastering the art of drying ginger at home is a rewarding endeavor. This comprehensive guide will walk you through the two primary methods of making ginger powder – starting with fresh ginger root or utilizing leftover ginger pulp – and critically compare the effectiveness of using a dehydrator versus a conventional oven for achieving perfectly dried ginger. We’ll delve into the nuances of each drying technique, offering practical tips and insights to ensure your homemade ginger powder is nothing short of amazing.
Why Make Your Own Ginger Powder? Unlocking Flavor and Reducing Waste
The allure of homemade ginger powder lies in its vibrant fragrance and potent flavor. Imagine adding a pinch of freshly ground ginger to your stir-fries, baked goods, or morning tea, and experiencing an intensity far beyond what you might find in a pre-packaged spice. The difference is truly remarkable, transforming everyday dishes into culinary delights.
Beyond the exquisite taste, making your own ginger powder allows for complete control over the quality and purity of your ingredients. You can opt for organic ginger, avoid unwanted additives, and tailor the grind to your preference. This approach not only elevates your cooking but also champions a sustainable kitchen practice, particularly when you consider the versatility of ginger.
One of the most compelling reasons to embrace homemade ginger powder, and indeed, one of the "two methods" the main keyword "how to make ginger powder two methods" refers to, is the incredible opportunity to repurpose *leftover ginger pulp*. If you’re an avid ginger juice maker, you’re likely familiar with the mound of fibrous pulp left behind. This often-discarded byproduct is a treasure trove of flavor and nutrients. Just as with nut milk pulp, dehydrating ginger pulp is an ingenious way to prevent waste, transforming it into a valuable ingredient for your spice rack. The other method, of course, is using
fresh ginger root directly. For a detailed guide on both starting materials, explore our article on
Homemade Ginger Powder: Fresh Root & Pulp Methods.
The fragrant, spicy powder you create can seamlessly replace store-bought versions in countless recipes. Use it in marinades, spice blends, smoothies, oatmeal, or steep it for a comforting homemade ginger tea. The possibilities are endless, and the satisfaction of using your own artisanal spice is immense.
Preparing Your Ginger for Drying: Two Paths to Powder Perfection
Before you can embark on the drying process, proper preparation of your ginger is crucial. As mentioned, there are two distinct starting points: fresh ginger root and leftover ginger pulp. Each requires a slightly different approach to ensure optimal drying results.
Method 1: Fresh Ginger Root Preparation
Using fresh ginger root allows you to capture its full, unadulterated flavor. Here’s how to prepare it:
1.
Peeling: While not strictly necessary if using organic ginger with clean skin, peeling can lead to a smoother powder. A spoon is surprisingly effective for scraping away the thin skin quickly and efficiently, minimizing waste compared to a peeler or knife.
2.
Slicing for Uniformity: This is arguably the most critical step. The goal is to achieve very thin, uniform slices.
*
Mandolin: For consistent, paper-thin slices, a mandolin is your best friend. It ensures even drying, preventing some pieces from over-drying while others remain damp.
*
Sharp Knife: If a mandolin isn't available, a sharp chef's knife can certainly do the job. Take your time to cut slices as thin and even as possible. The thinner the slices, the faster and more evenly they will dry.
3.
Arrangement: Once sliced, arrange the ginger pieces in a single layer on your drying trays (whether for an oven or a dehydrator). Ensure no slices overlap. Overlapping pieces will trap moisture, leading to uneven drying and potential spoilage.
Method 2: Leftover Ginger Pulp Preparation
This method is a fantastic way to minimize food waste after making ginger juice, ginger shots, or even ginger tea.
1.
From Juicing: If you’ve just juiced a batch of ginger, collect the leftover pulp. It will likely be damp but not soaking wet.
2.
Spreading Thinly: Spread the pulp out thinly and evenly on your dehydrator or baking trays. You want a consistent, thin layer to promote uniform drying. Avoid clumps, as these will retain moisture and take much longer to dry.
3.
Pre-drying (Optional): If your pulp is particularly wet, you might gently press some excess liquid out with a clean cloth or paper towel before spreading. This isn't usually necessary but can speed up the drying process.
For more detailed strategies on utilizing this often-overlooked ingredient, check out our guide on
Don't Waste Ginger Pulp! Easy Oven & Dehydrator Powder.
Dehydrator vs. Oven: The Ultimate Showdown for Drying Ginger
Now that your ginger is prepped, the next crucial decision is how to dry it. Both a food dehydrator and a conventional oven can effectively dry ginger, but they each come with distinct advantages and disadvantages, particularly concerning speed, energy consumption, and the quality of the final product.
The Dehydrator Method: Precision and Preservation
Using a food dehydrator is often considered the gold standard for drying ginger. This method excels at removing moisture without exposing the ginger to excessive heat, which can cook the ginger or degrade its delicate flavors and nutrients.
*
Process: Arrange your prepped ginger (slices or pulp) on the dehydrator trays, ensuring good airflow.
*
Temperature: Set your dehydrator to a low temperature, typically around
40ºC (100ºF). This gentle heat is key to preserving the ginger's aromatic compounds and nutritional value.
*
Time: Drying time will vary depending on the thickness of your ginger and the humidity of your environment, but generally, fresh ginger slices take about
4-5 hours. Pulp might dry slightly faster due to its finer consistency. Always check for complete dryness.
*
How to Check: The ginger should be brittle, snap easily when bent, and feel completely dry to the touch. There should be absolutely no pliability or moisture.
Pros of a Dehydrator:
*
Optimal Quality: Low, consistent heat preserves more flavor, aroma, and potentially higher nutritional value.
*
Even Drying: Designed for airflow, ensuring uniform dehydration.
*
Efficiency: Generally more energy-efficient for long drying times compared to an oven.
*
"Set-It-and-Forget-It": Less monitoring required once set.
Cons of a Dehydrator:
*
Initial Investment: Requires purchasing a dedicated appliance.
*
Space: Takes up counter or storage space.
The Oven Method: Accessibility and Adaptability
For those without a dehydrator, a conventional oven offers a readily available alternative. While it requires more vigilance, it can certainly yield excellent dried ginger.
*
Process: Line a baking sheet with parchment paper and spread your ginger slices or pulp in a single, non-overlapping layer.
*
Temperature: This is critical. Set your oven to its absolute lowest possible temperature, ideally between
50-70°C (120-160°F). Higher temperatures risk "cooking" the ginger, altering its flavor and potentially degrading its quality.
*
Ventilation: To allow moisture to escape, prop the oven door open slightly (e.g., with a wooden spoon). This prevents the oven from turning into a steam bath, which would hinder drying.
*
Time: Oven drying typically takes longer than a dehydrator, often
6-8 hours or more, depending on the oven and ginger thickness. You'll need to monitor it closely.
*
How to Check: Like dehydrator-dried ginger, it should be completely crisp, brittle, and snap when bent. Stir or flip the ginger periodically to promote even drying.
Pros of an Oven:
*
Accessibility: Most homes already have an oven, requiring no additional equipment.
*
Cost-Effective: No upfront purchase necessary.
Cons of an Oven:
*
Risk of "Cooking": Higher temperatures can cook the ginger, affecting flavor and nutrient content.
*
Less Consistent: Hot spots can lead to uneven drying. Requires more frequent turning and monitoring.
*
Energy Consumption: Running an oven for hours can be less energy-efficient.
*
Longer Time: Generally takes more time than a dehydrator.
Recommendation: While both methods are viable, the
dehydrator emerges as the superior choice for preserving the delicate flavor, aroma, and nutritional integrity of ginger. If you frequently dry herbs, fruits, or vegetables, a dehydrator is a worthwhile investment. However, if you’re drying ginger occasionally or on a budget, the oven method, when carefully managed, will still produce a high-quality powder.
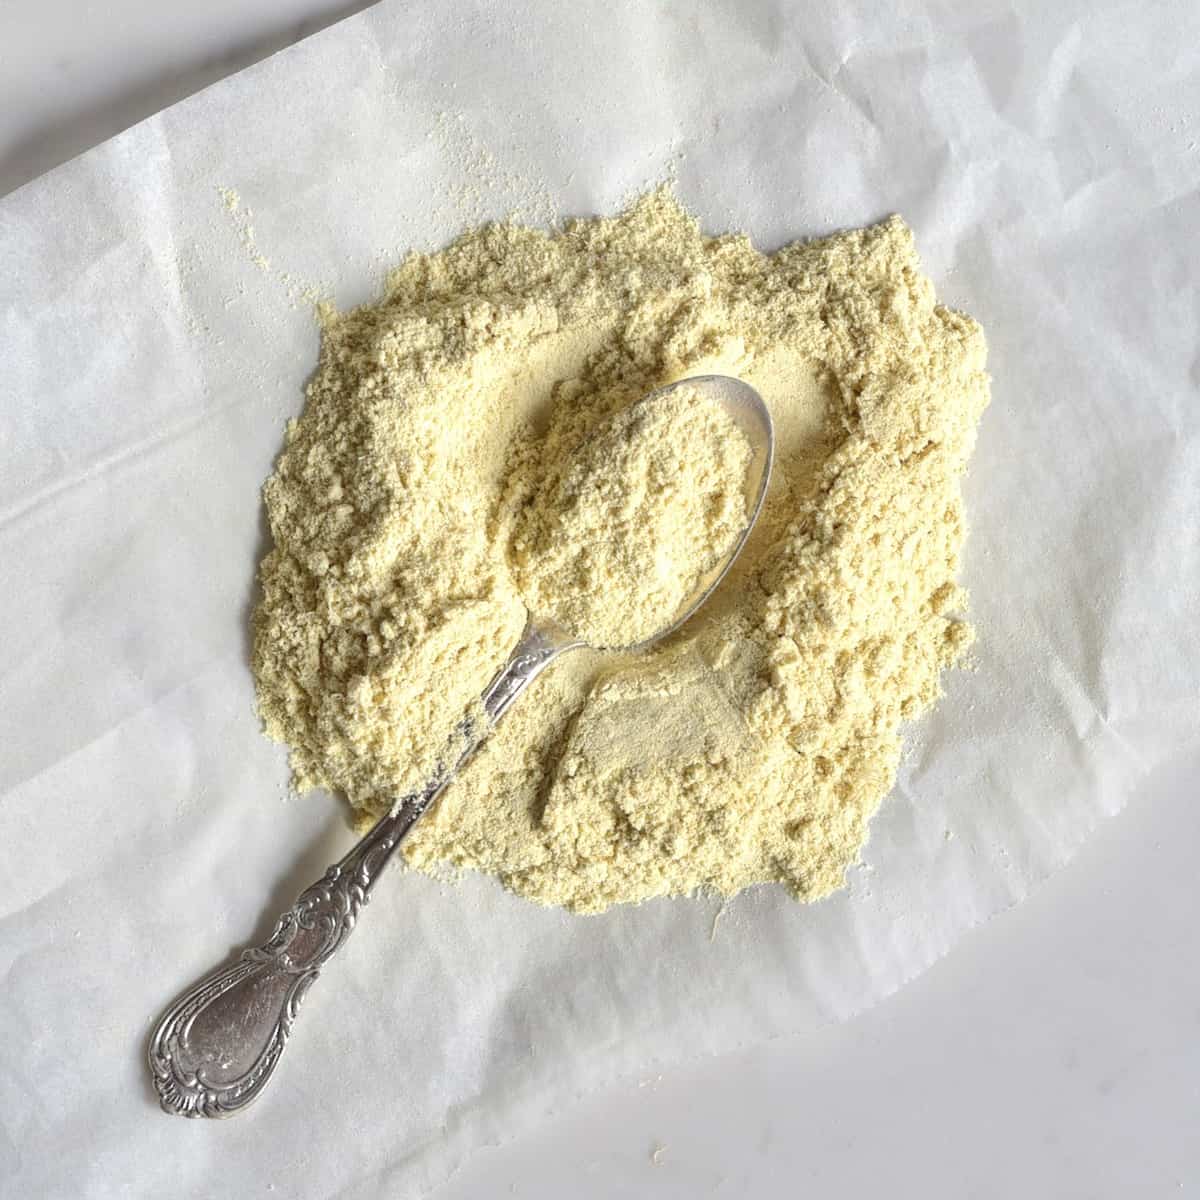
Grinding Your Dried Ginger into Perfect Powder
Once your ginger is completely dry and cooled, it's time for the final, satisfying step: grinding it into a fine powder.
1.
Ensure Dryness: Double-check that every piece is thoroughly brittle. Any residual moisture will lead to clumping and mold.
2.
Grinding Equipment:
*
Spice Grinder or Coffee Grinder: These are ideal for achieving a very fine, consistent powder. Grind in small batches to avoid overheating the motor and to ensure a uniform texture.
*
High-Speed Blender: For larger quantities, a high-speed blender can work, but you might need to pulse it and sift the powder to remove any larger pieces, re-grinding them as needed.
3.
Achieving Fineness: Grind until you reach your desired consistency. For typical ginger powder, this means a very fine, flour-like texture.
4.
Sifting (Optional): If you want an exceptionally smooth powder, pass it through a fine-mesh sieve.
5.
Storage: Transfer your freshly ground ginger powder to an airtight container. Store it in a cool, dark place, away from direct sunlight and heat. Properly stored, homemade ginger powder can retain its potency and flavor for 6-12 months, though it's often best when used within the first few months. For optimal freshness, consider grinding small batches as needed from your dried ginger pieces.
Conclusion
Creating your own ginger powder at home is a deeply satisfying and rewarding culinary project. By choosing between fresh ginger root or giving new life to leftover ginger pulp, and then carefully selecting your drying method – be it the precision of a dehydrator or the accessible adaptability of an oven – you unlock a world of intense flavor and aroma. The resulting powder, with its fragrant, spicy notes, will undoubtedly elevate your cooking and offer a superior experience compared to most store-bought options. So, gather your ginger, choose your path, and prepare to be amazed by the incredible quality of your homemade ginger powder.